Nowadays most emerging technology Hadoop. It is a solution for Big data to store and process a large amount of data. For storage purposes HDFS and Processing in Map Reduce but nowadays Map Reduce is not used. Will move to Apache Spark for processing and 100% better than Map Reduce because it is based on c
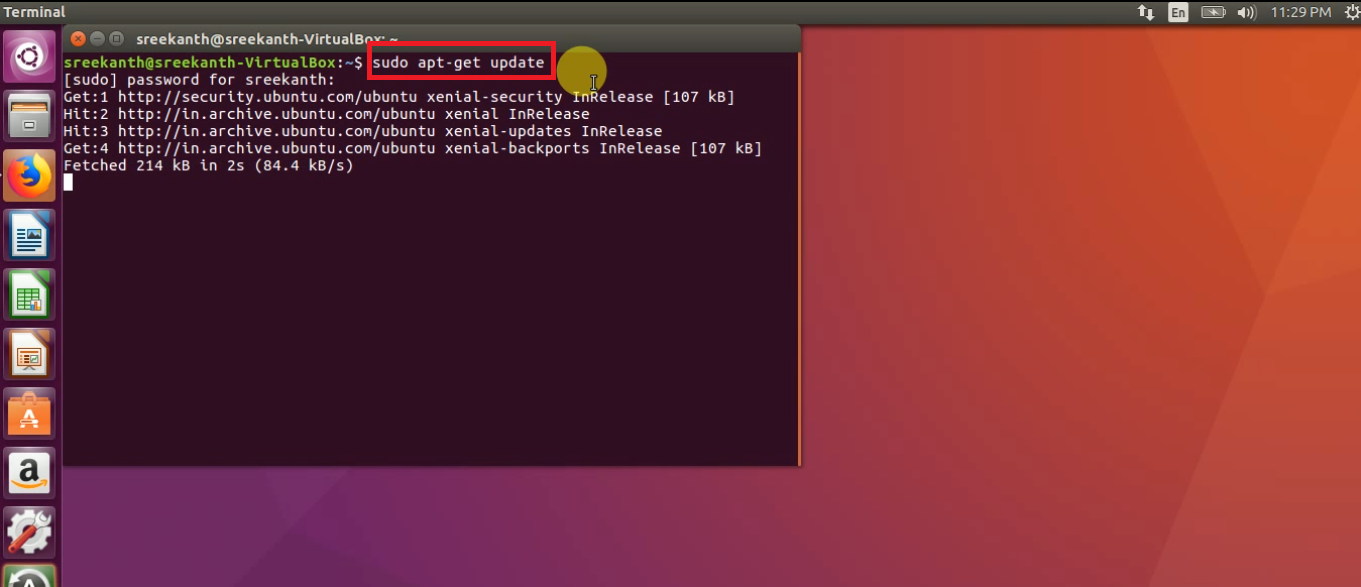
Step 1: First step we need to update the “System Software Repositories” using below command:
sudo apt-get update

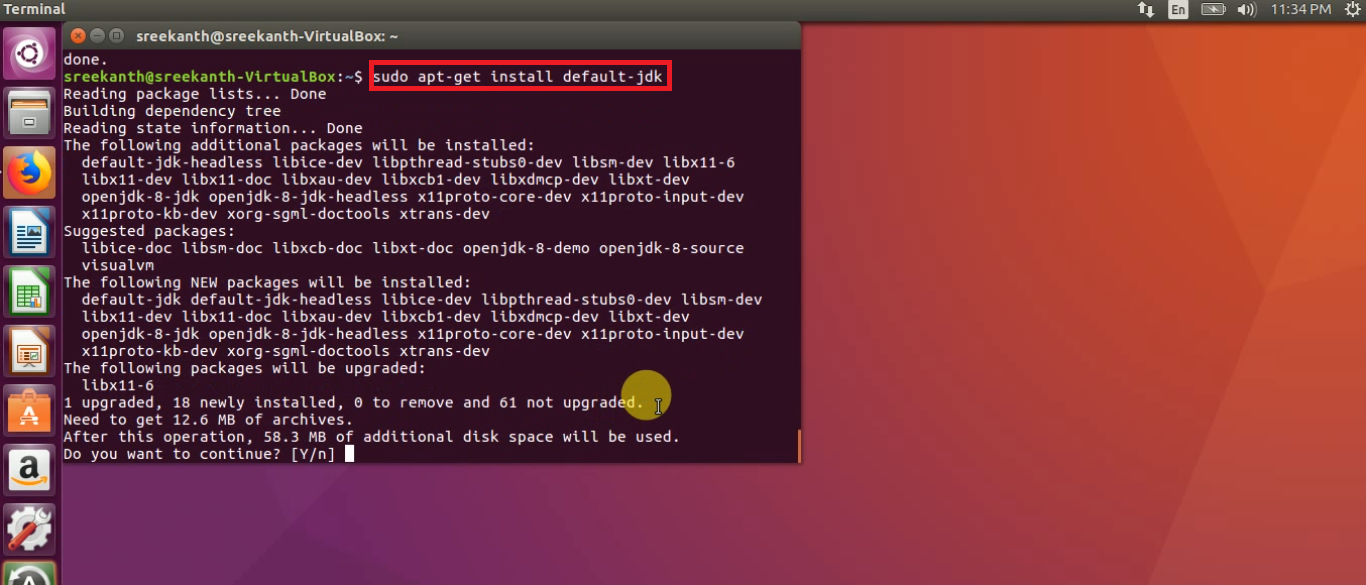
Step 2: Next will Install java-1.8 version using the below command.
sudo apt-get install openjdk-8-jdk

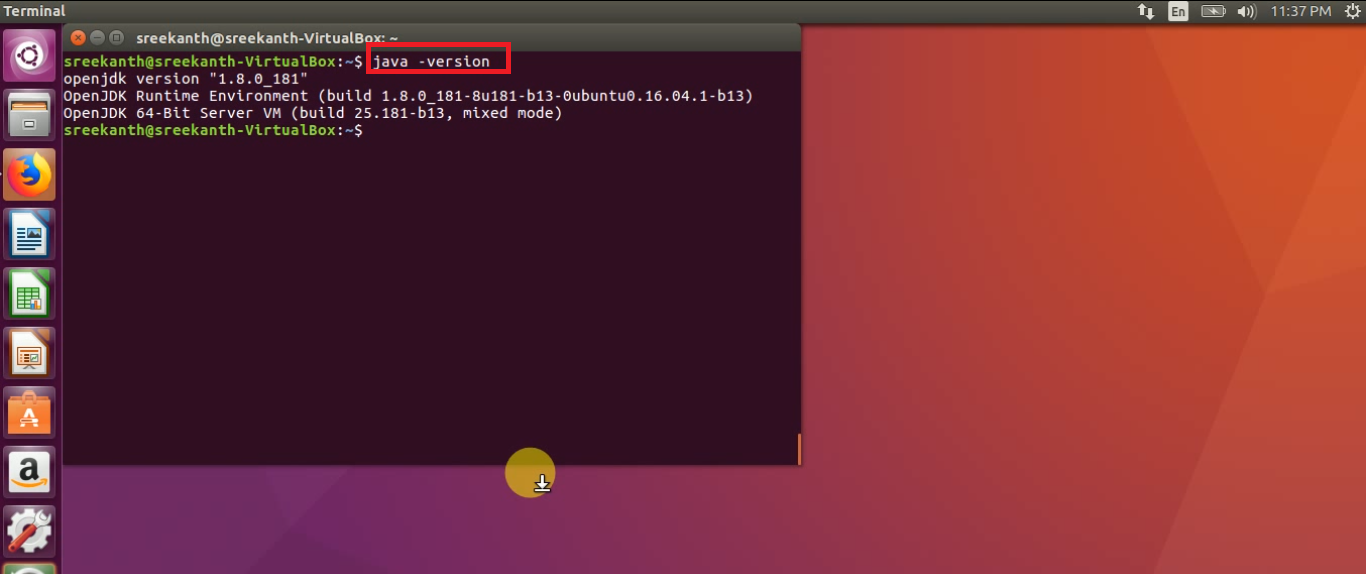
Step 3: After that check Java Version using below command:
java -version

Step 4: We must and should Install ssh using below command
sudo apt-get install ssh
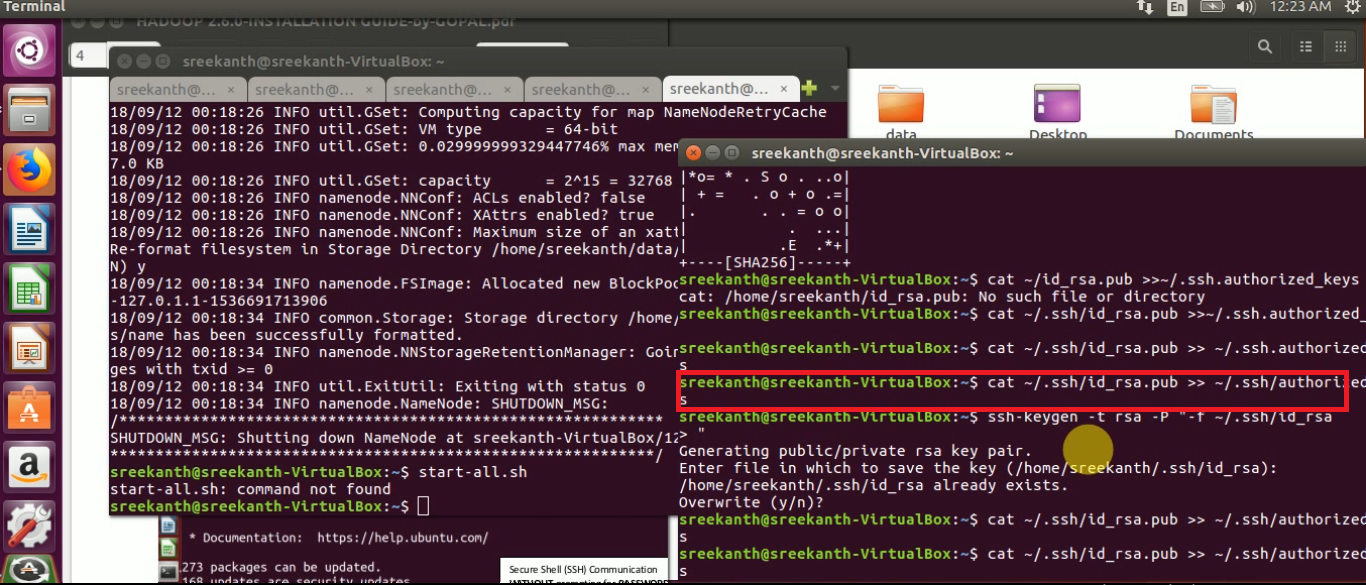
Password Less SSH Communication, enter the below commands at any terminal:
ssh localhost


ssh-keygen -t rsa -P '' -f ~/.ssh/id_rsa
cat ~/.ssh/id_rsa.pub >> ~/.ssh/authorized_keys
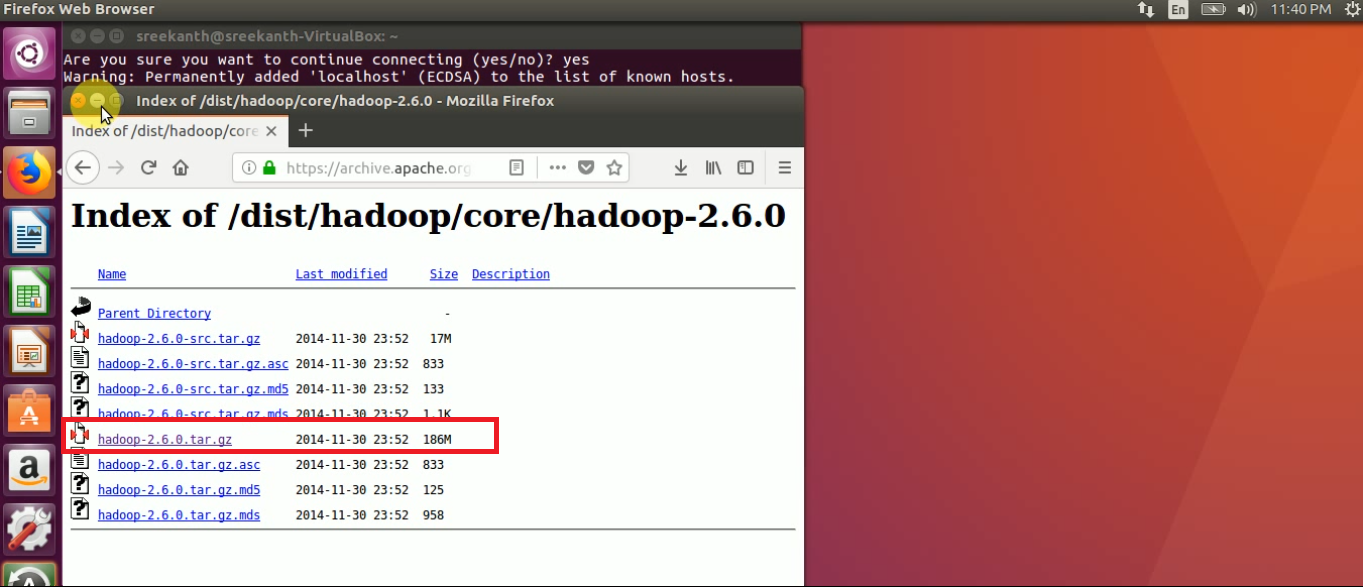
STEP 5: Download Hadoop-2.6.0 version tarball from Apache Mirrors from Apache official website

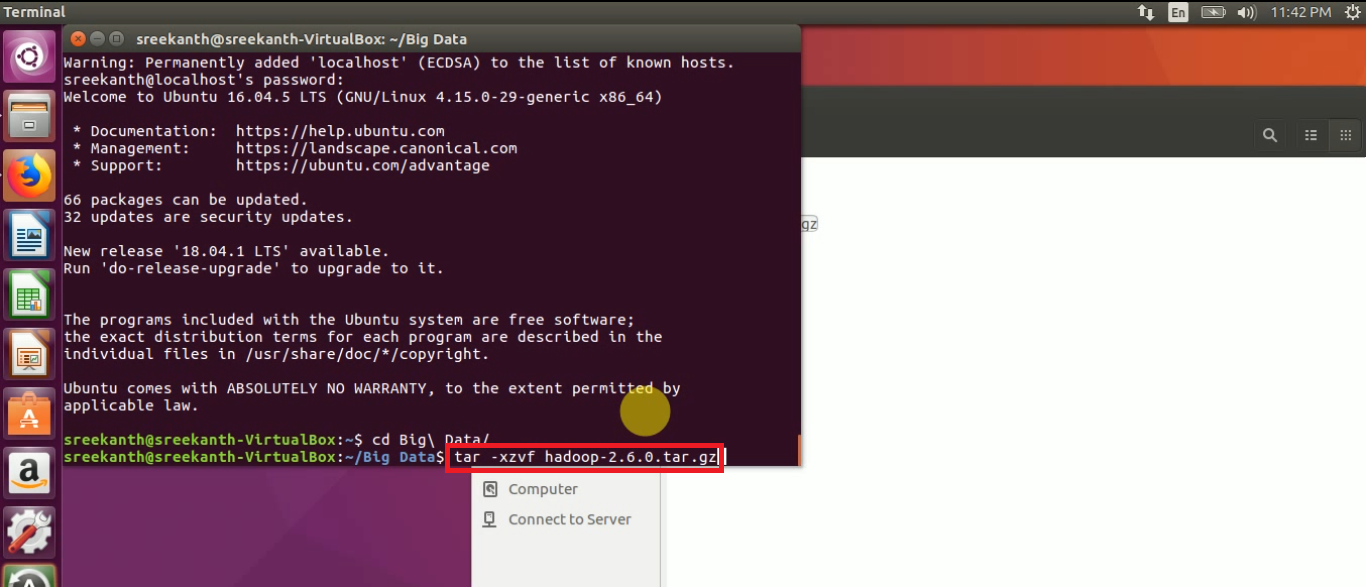
STEP 6: Extract the copied tarball using below command:
tar -xzvf hadoop-2.6.0.tar.gz

Below are the Total Configuration files in ‘Hadoop’ directory
STEP 7: We must and should to do edit the below 8 configuration files as part of HADOOP Installation:
1. core-site.xml

2. mapred-site.xml

3. mapred-env.sh

4. yarn-site.xml

5. hdfs-site.xml

6. hadoop-env.sh

7. yarn-env.sh

8. slaves
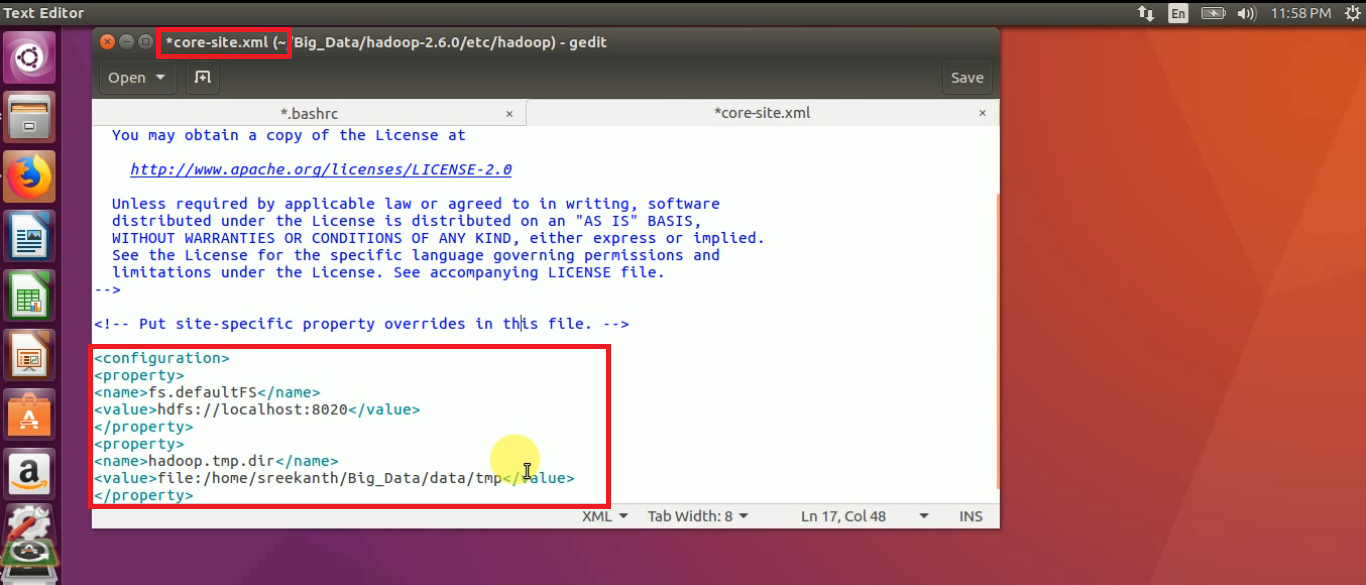
STEP 8: Open core-site.xml file, add the below properties
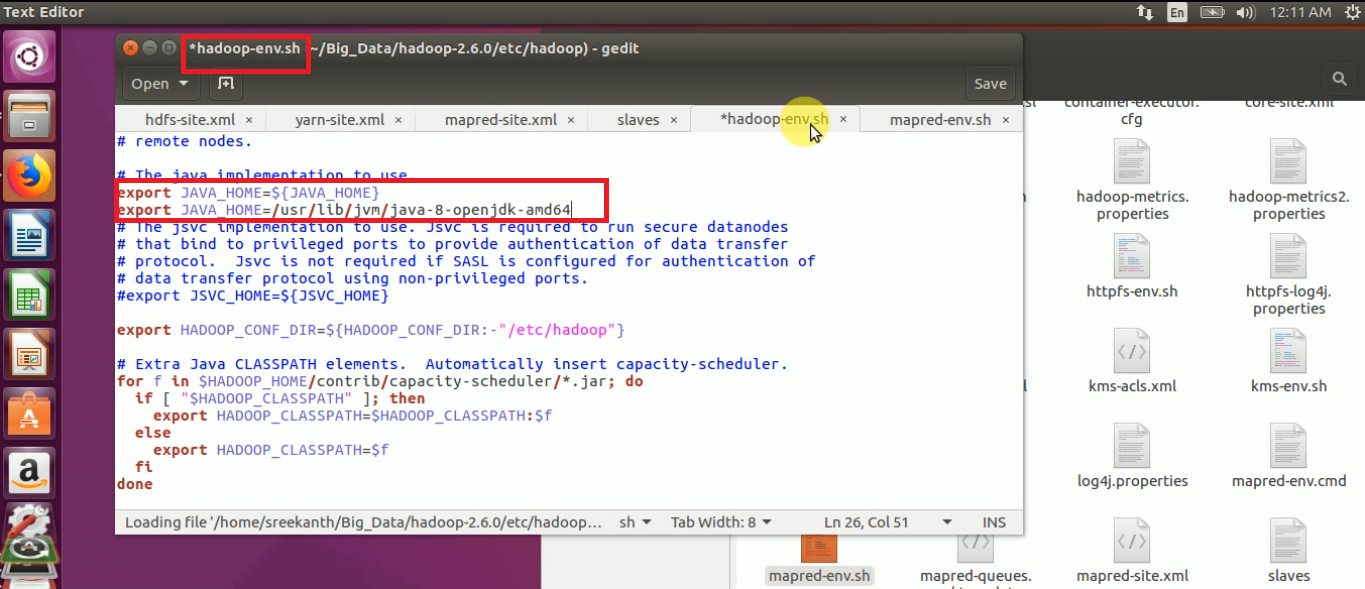
STEP 9: Open “hadoop-env.sh” file and update the JAVA_HOME path

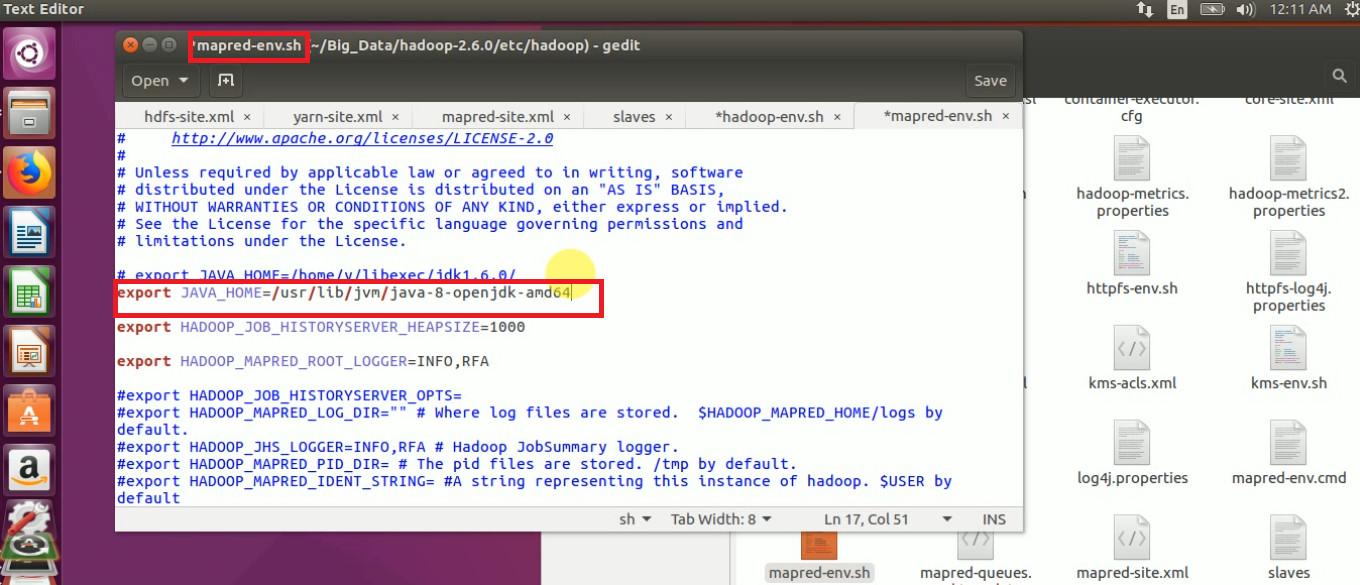
STEP 10: Open mapred-env.sh and update JAVA_HOME

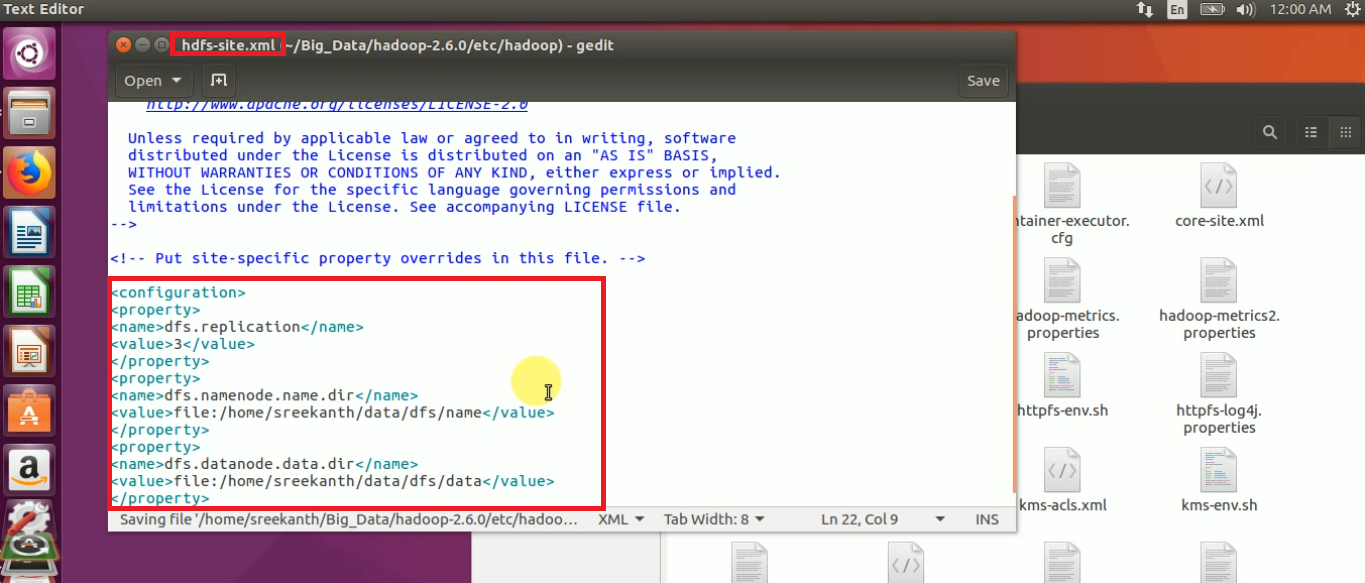
STEP 11: Open hdfs-site.xml file and add the below properties:

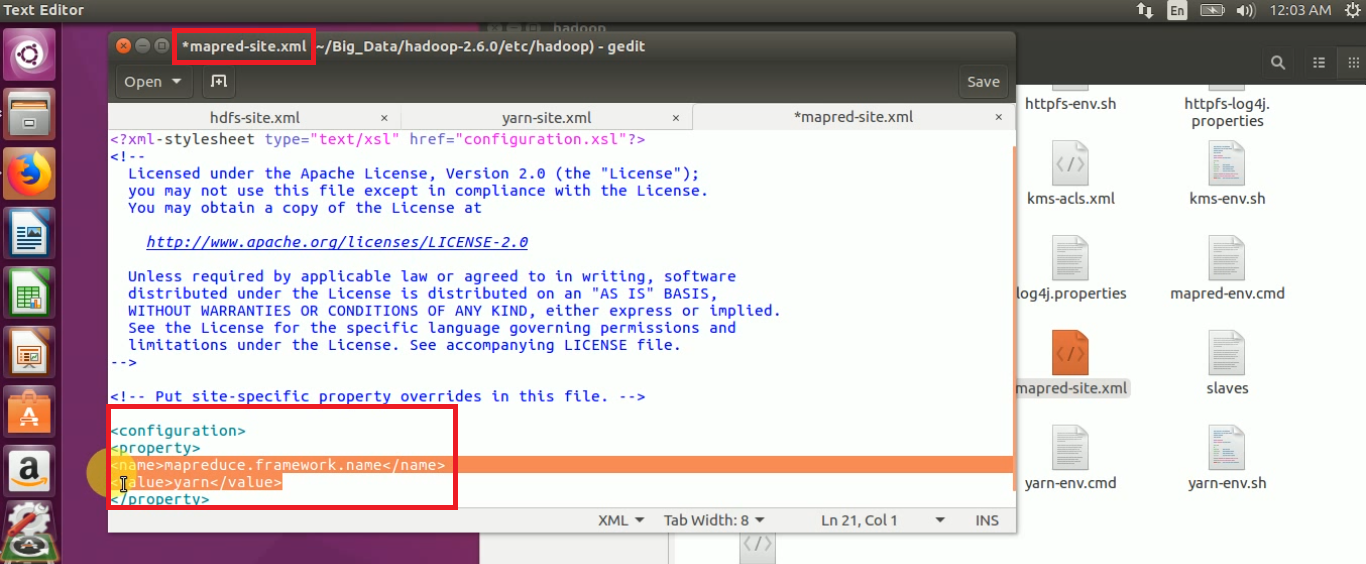
STEP 12: Open mapred-site.xml and update the framework architecture details as “yarn”

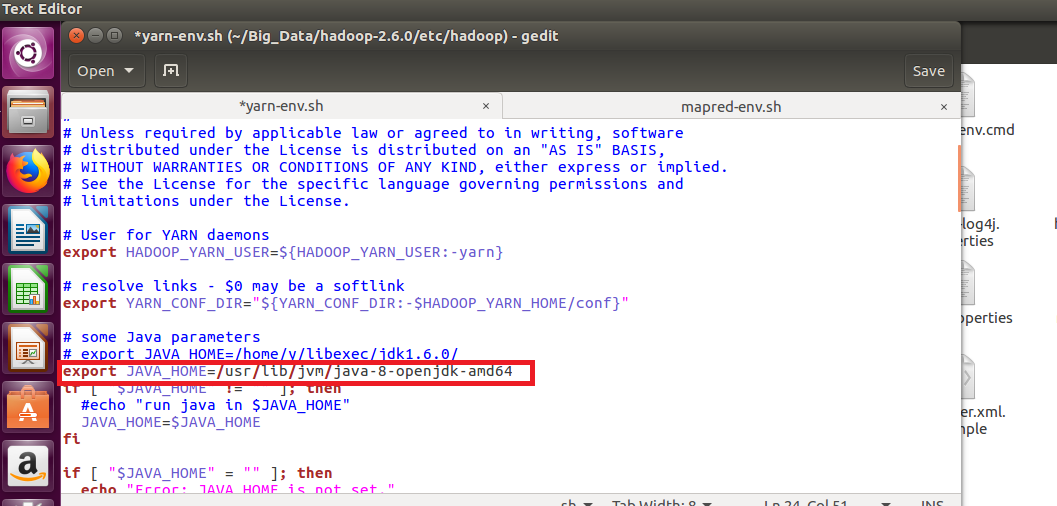
STEP 13: Open yarn-env.sh and update the JAVA_HOME path in that file

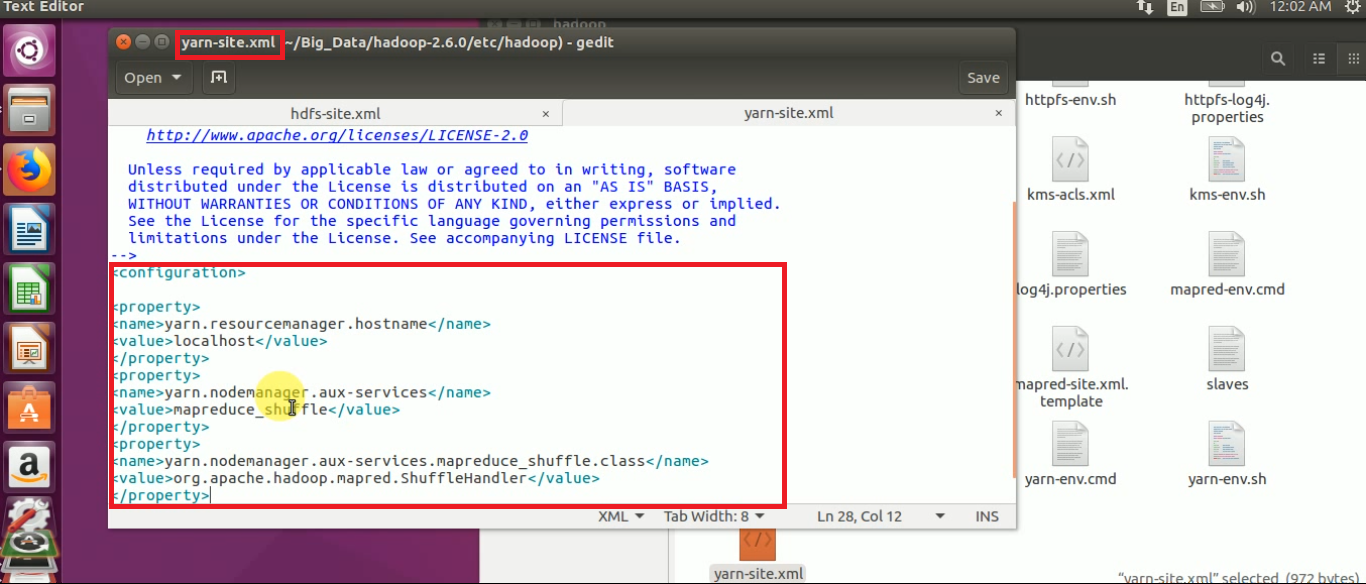
STEP 14: Open yarn-site.xml and add the below properties to configure “Resource Manager”.

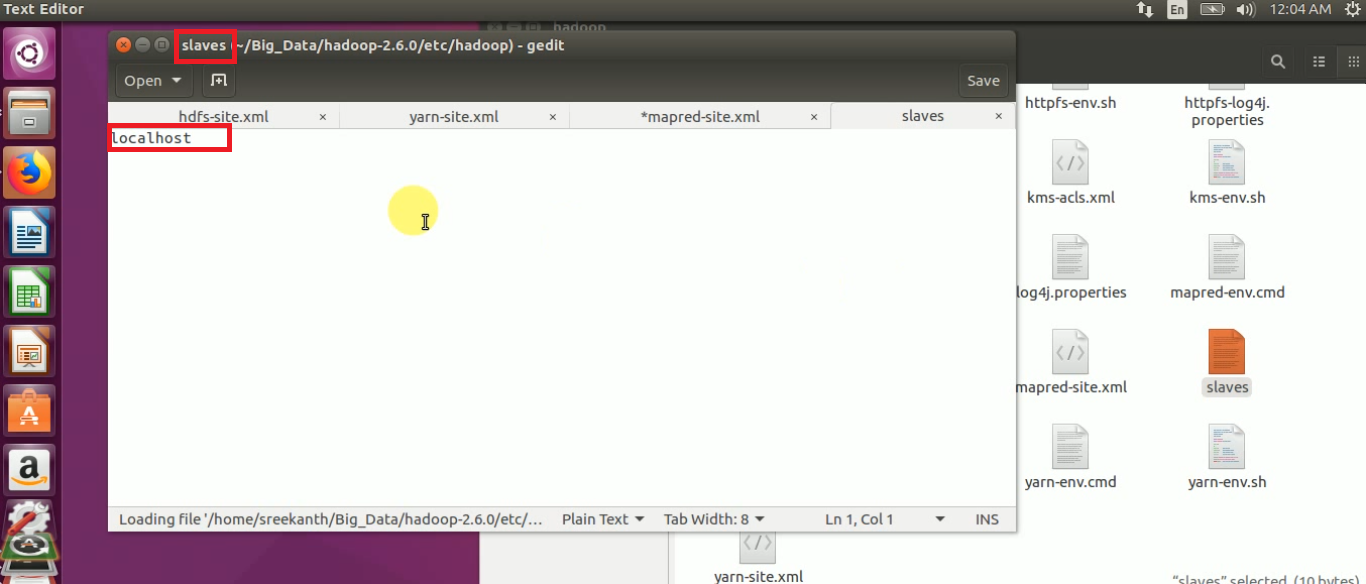
STEP 15: Open slaves file and to check whether the hostname is localhost or not
STEP 16: Update and Set JAVA_HOME, HADOOP_HOME & PATH variables:
export JAVA_HOME=/usr/lib/jvm/java-7-openjdk-amd64
export HADOOP_HOME=/home/gopalkrishna/INSTALL/hadoop-2.6.0
export PATH=$PATH:$JAVA_HOME/bin:$HADOOP_HOME/sbin


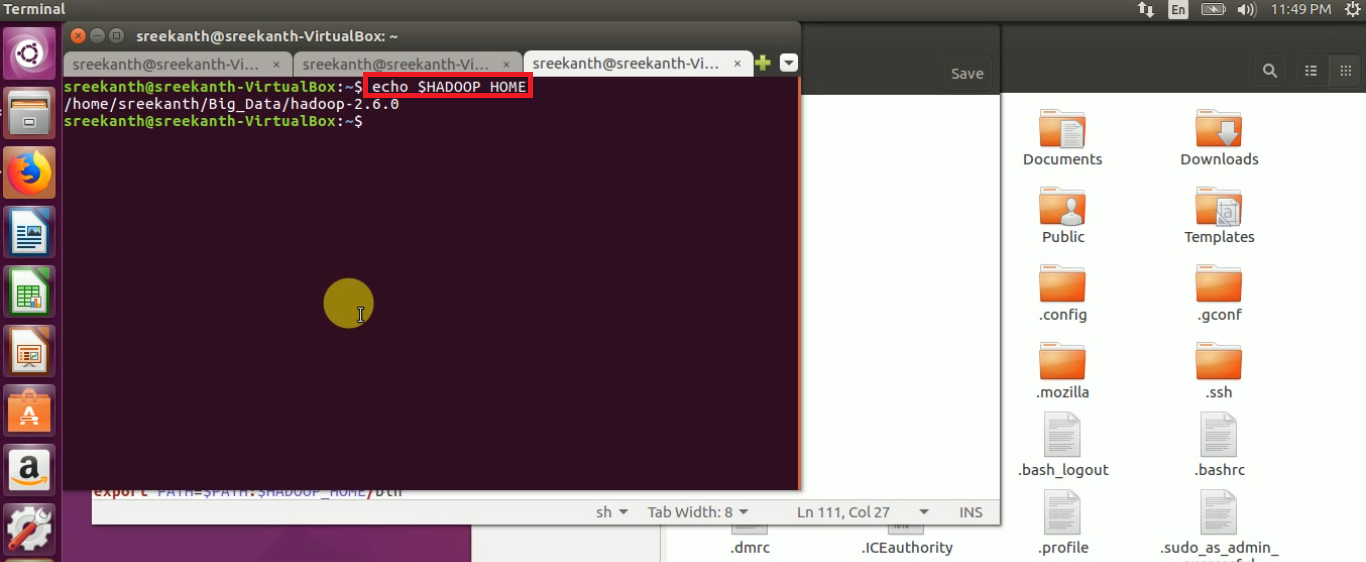
STEP 17: To check the bashrc changes, open a new terminal, and type the below command:
echo $HADOOP_HOME

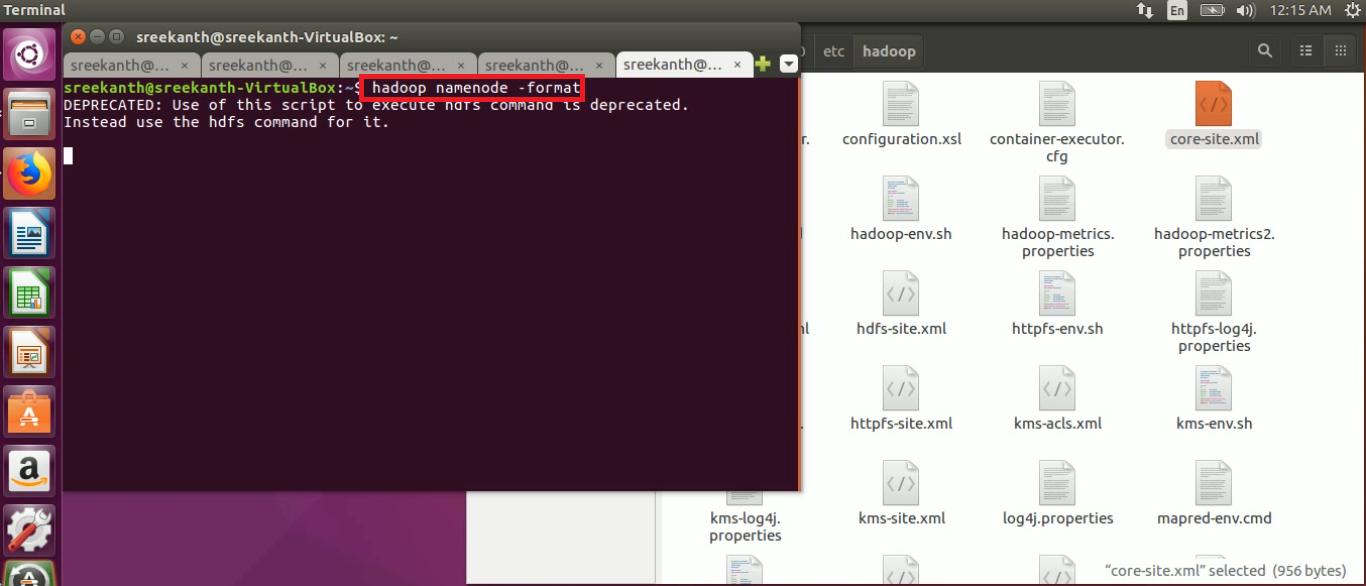
STEP 18: Before starting the Name Node, we must have to format the name node using below command:
hadoop namenode -format

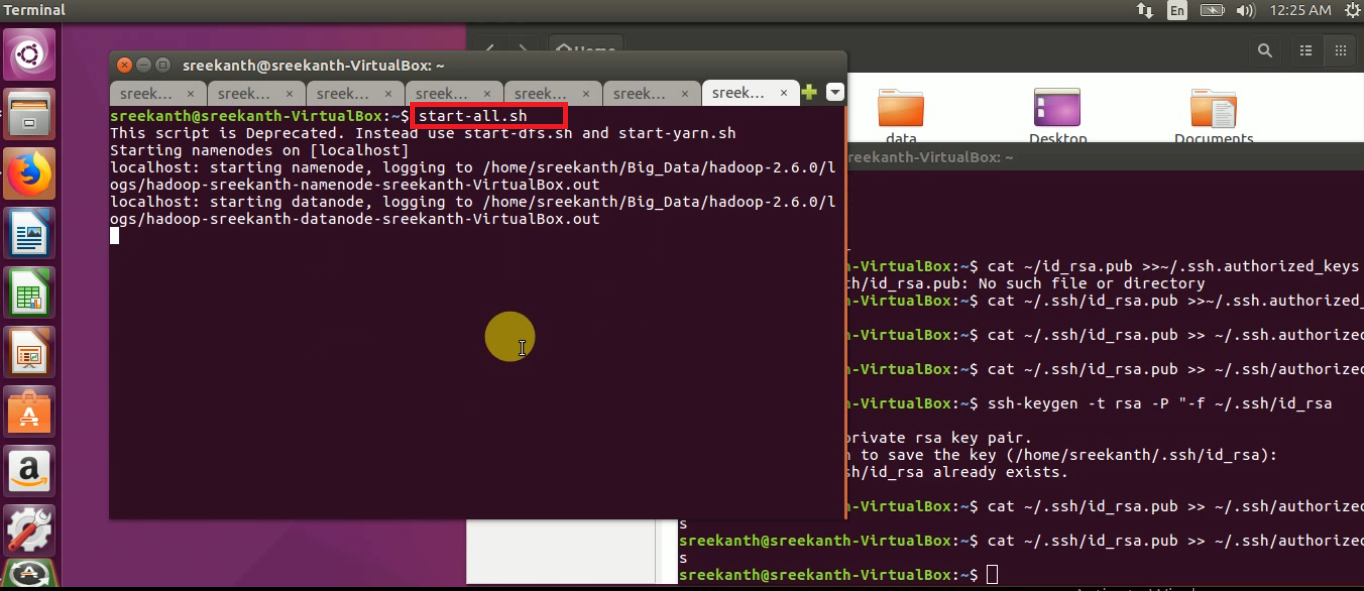
STEP 19: To start all the daemons of hadoop in 2.X.X use “start-all.sh” command

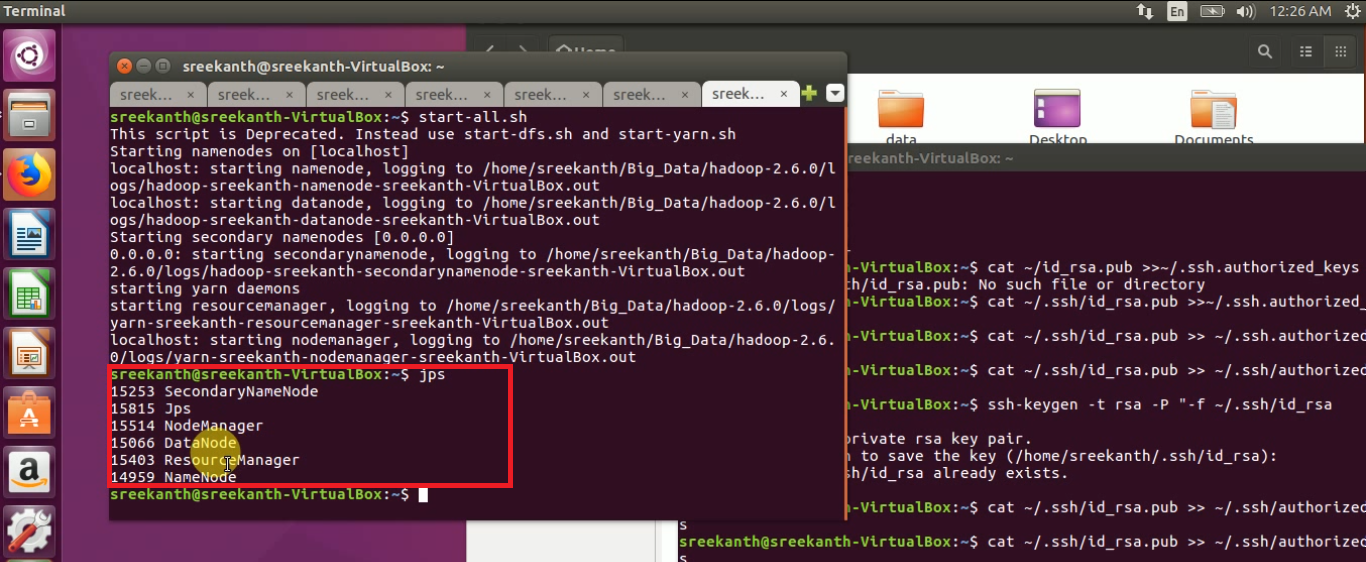
Step 20: How to check the Name node, Node manager, Data node running or not will use below command:
jps
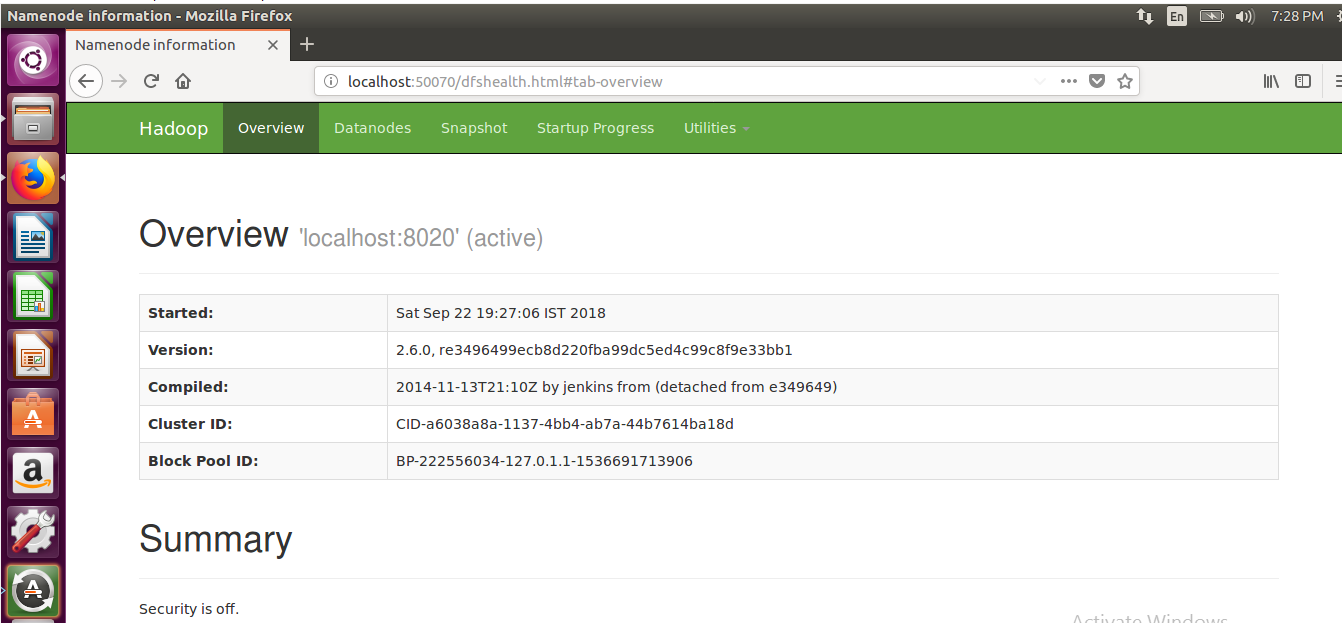
STEP 21: To Access the Name Node information in GUI using below link in your system
http://localhost:50070

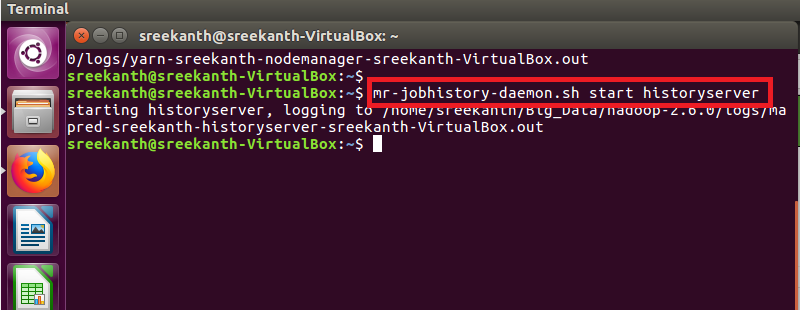
STEP 22: To Start Job History Server in Hadoop Cluster using below command
mr-jobhistory-daemon.sh start historyserver
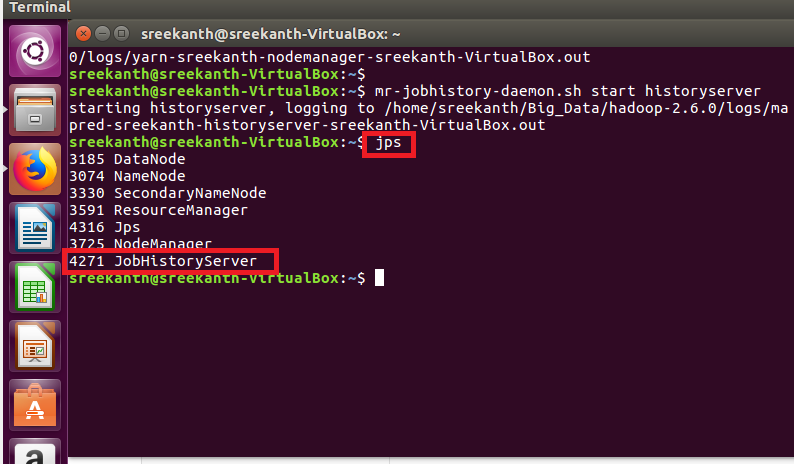


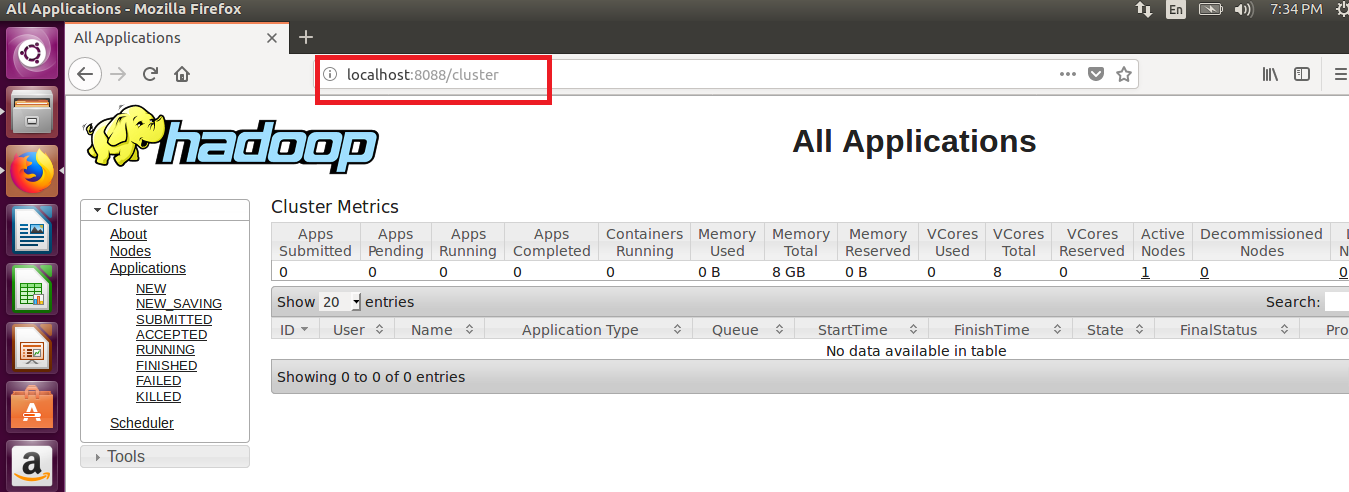
STEP 23: To Access Resource Manager in Hadoop cluster:
localhost:8088

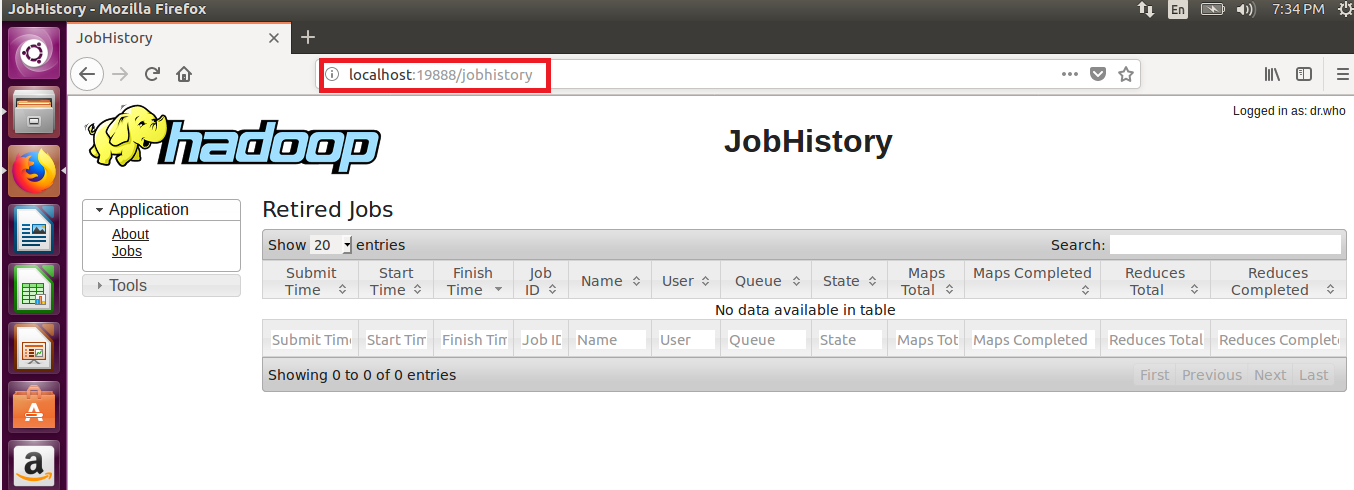
STEP 24: To Access Job History Server in Hadoop Cluster
localhost:19888

STEP 25: To stop all the daemons of Hadoop in 2.X.X use “stop-all.sh” command
STEP 26: To Stop Job History Server in 2.x.x.
mr-jobhistory-daemon.sh stop historyserve